Aleksey Nemiro's curriculum vitae
Automation of adding labels to pull requests on GitHub
Appropriate labels to pull requests can provide additional information about the content of the pull requests and can simplify workflow. It is especially true in dynamically developing projects with a diverse technological stack, with the number of participants from five or more people.
Depending on the workflow, the developer needs to perform a large number of non-coding activities. Most likely, developers will not be very happy with the requirement to add labels to their pull requests, especially if it can and should be automated.
Meet bighut-relabel!
bighut-relabel is a Node.js library that allows you to automate labeling pull requests. And also, the library allows you to change titles, descriptions, set/unset milestones, add comments, delete branches, and much more.
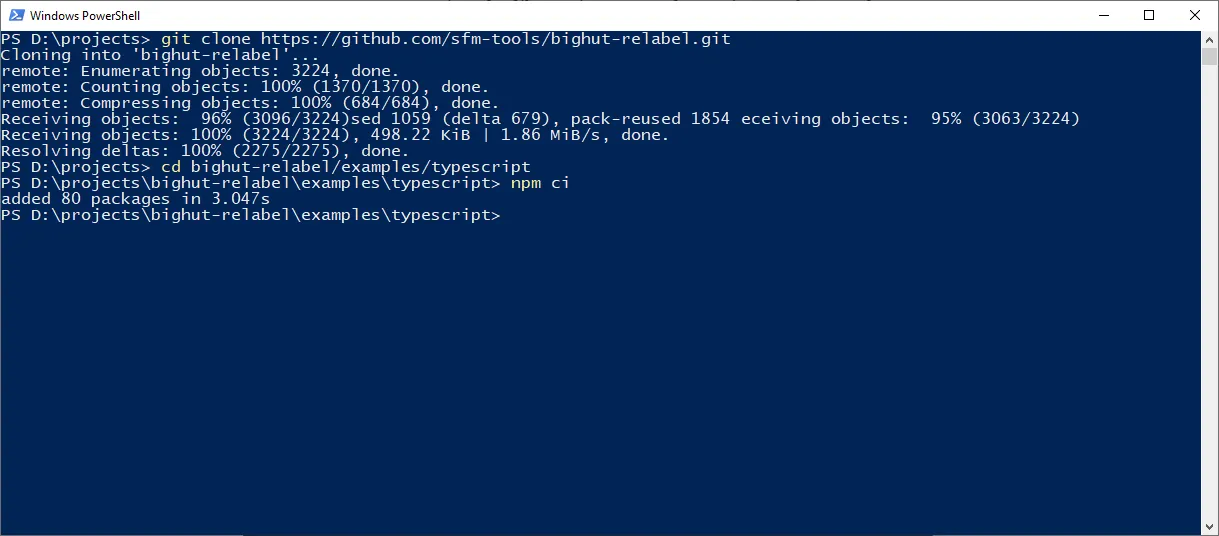
An easy way to start using the library is to copy the project and example config from the GitHub repository:
git clone https://github.com/sfm-tools/bighut-relabel.git
cd bighut-relabel/examples/typescript
npm ci

I prefer to use TypeScript, but you can use the JavaScript example:
git clone https://github.com/sfm-tools/bighut-relabel.git
cd bighut-relabel/examples/javascript
npm ci
Now you only need to do two things. The first is to config the rules for processing pull requests.
The library implements the Fluent API. It allows implementing configuration using method chaining calls. It’s really simple and yet flexible enough.
Open config.ts (or config.js) file. You will see an import of the createConfig method. This method instantiates a class for creating rules:
import { createConfig } from 'bighut-relabel';
const config = createConfig();
The example contains three rules for different file types:
config
  .addLabel('backend')
  .whenFilePath(/\.cs$/);
config
  .addLabel('frontend')
  .whenFilePath(/\.(((t|j)sx?)|(s?css))$/);
config
  .addLabel('database')
  .whenFilePath(/\.sql$/);
The rules specify that a backend label should be added for pull requests that contain CSharp (.cs) files. And a frontend label when pull requests contain files TypeScript (.ts, .tsx), JavaScript (.js, .jsx), Sass Cascading Style Sheets (.scss), or Cascading Style Sheets (.css). And a database label for SQL (.sql) files.
[!IMPORTANT] Please note, the library itself does not create new labels in the repository. You must add them manually before using them.

Second, you need to config access to your repository.
You can find the .auth.example.json file in the same folder as the config.ts (config.js) file:
{
  "github": {
    "token": "%YOUR GITHUB TOKEN HERE%",
    "owner": "%GITHUB USERNAME OR ORGANIZATION NAME HERE%",
    "repo": "%REPOSITORY NAME HERE%"
  }
}
Just copy and rename this file to .auth.json. Specify the parameters of the repository to which you want to apply the processing rules.
You can find the owner and repository name in the URL. For example, https://github.com/sfm-tools/bighut-relabel:
- owner is sfm-tools
- repo is bighut-relabel
- token you can get in the your profile settings. Please check the following link for details: https://docs.github.com/en/authentication/keeping-your-account-and-data-secure/creating-a-personal-access-token
As a result, you will have something like the following:
{
  "github": {
    "token": "ghp_SeeAlSo0braNcHRemOVEr000000000000aBST",
    "owner": "sfm-tools",
    "repo": "bighut-relabel"
  }
}
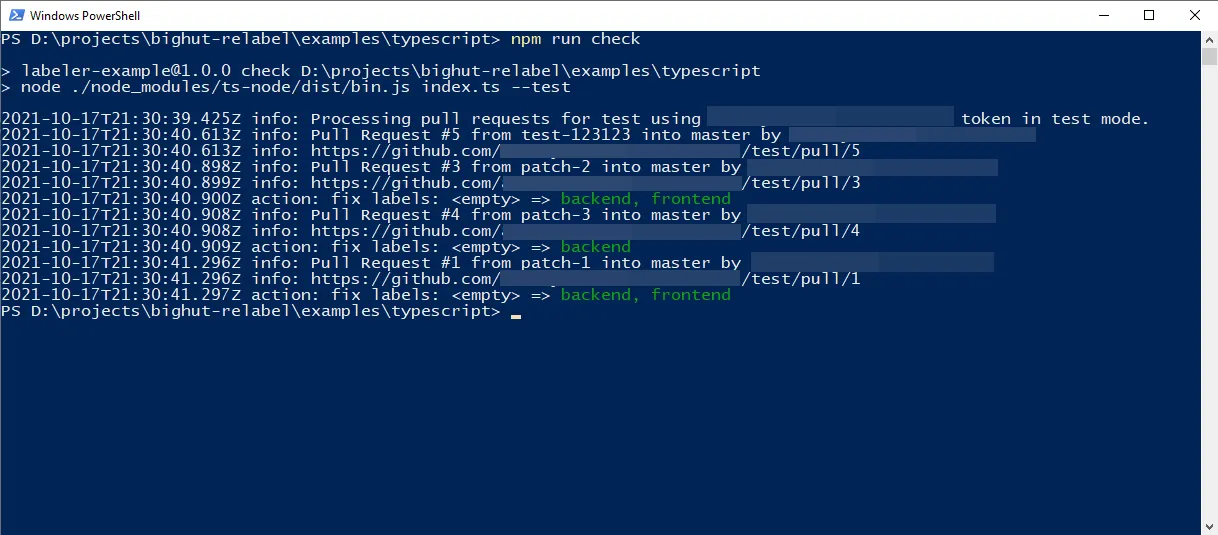
Run the following command to see how it works. You don’t have to worry, this is a test run, without making any changes to your repository:
npm run check

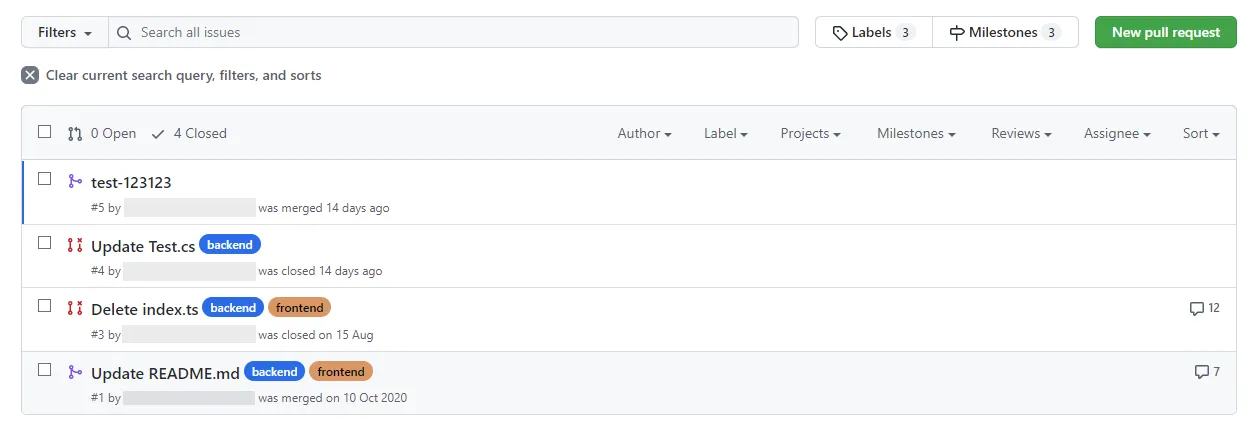
If you are satisfied with the results, you can apply the changes using the following command:
[!WARNING] Be careful there is currently no easy way to rollback these changes.
npm run fix

What’s next?
The library allows you not only to manage labels but also to do many other things. In your IDE, you can see the method list implemented in the class for creating request processing rules. It will be easier for you if you are using TypeScript. Below I will take a quick look at some of the methods with examples of their use.
You are already familiar with the method for adding labels — addLabel, but there is also a method for removing labels — removeLabels. Let’s add a rule to remove the backend label in cases where the pull request does not contain .cs files:
config
  .removeLabel('backend')
  .whenFilePath(/\.cs$/)
  .nothing();
The use of milestones allows a better track of the project development progress. Let’s add two rules for specifying a milestone using the setMilestone method. First, if the target branch is master, then the pull request should be associated with the Next Release milestone:
config
  .setMilestone('Next Release')
  .whenTargetBranchName('master');
And second, if the target branch is prod-1, then the pull request should be associated with the Release-1 milestone:
config
  .setMilestone('Release-1')
  .whenTargetBranchName('prod-1');
With the addComment method, you can add comments to pull requests. Let’s add a joking comment if the pull request does not contain any modified files:
config
  .addComment('Great job! I've never seen anything better than this!')
  .whenFileCount()
  .equal(0);
Before that, there were simple examples, now let’s try a more complex one. Suppose the project has a Notifications folder and we know that a developer named john.smith is the creator of this part of the project. We can add a rule to request a code review from user john.smith if the pull request contains changes in this scope:
config
  .requestReviewers('john.smith')
  .when(async(context: LabelerContext): Promise<boolean> => {
    const {
      pullRequest,
    } = context;
    // exlude closed and merged
    if (
      pullRequest.state === 'closed'
      || pullRequest.mergedDate
    ) {
      return false;
    }
    // exclude author
    if (pullRequest.author.login === 'john.smith') {
      return false;
    }
    // exclude requested
    if (pullRequest.requestedReviewers.length) {
      return false;
    }
    // exclude already reviewed
    if ((await pullRequest.reviews.get()).length) {
      return false;
    }
    const files = await pullRequest.files.get();
    for (const file of files) {
      if (/Notifications/g.test(file.patch)) {
        return true;
      }
    }
    return false;
});
Similar to the when method, which allows you to define custom conditions for checking pull requests, the library has the execute method that allows you to perform any custom action. Let’s send an email notification if the number of comments exceeds a certain number. I will not provide all the code for sending emails, this is not part of the library. Just an example:
config
  .execute(
    async(context: LabelerContext): Promise<void> => {
      const {
        pullRequest,
      } = context;
      await transporter.sendMail({
        from: 'noreply@example.org',
        to: 'example@example.org',
        subject: `Small discussion in PR #${pullRequest.code}: ${pullRequest.title}`,
        text: `You should get involved in this: ${pullRequest.htmlUrl}`.
      });
    }
  )
  .whenCommentCount()
  .greaterThanOrEqualTo(1000);
If for some reason you need to disable the automatic processing of pull requests, you can add a label to prevent further processing using the skip and ignoreOther methods:
config
  .skip()
  .whenLabel('disable autofix')
  .andAlso()
  .ignoreOthers();
Epilog
Library bighut-relabel allows you to customize absolutely any rules for processing pull requests. A basic set of actions and conditions is enough to make the process of writing rules easy. You can create rules and configure a task scheduler to run your script periodically. And your team will no longer need to manually assign labels.
It is difficult to cover all the use cases for bighut-relabel in one article, but I hope this will be enough to get you started.
Aleksey Nemiro
2021-10-18
https://medium.com/git-hero/automation-of-adding-labels-to-pull-requests-on-github-790f033f95f9